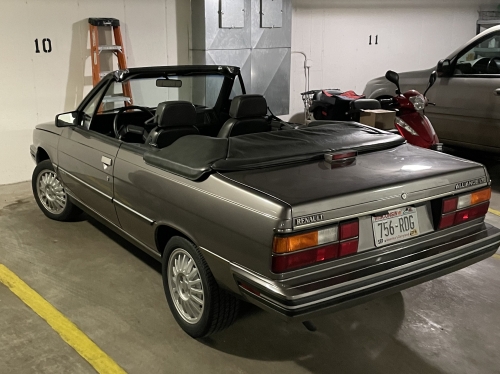
A few years ago, I bought a pretty nice '87 Renault Alliance convertible in Minnesota. It had very low miles, a fresh paint job and an almost perfect top. It belonged to a guy who fixed them and had a yard full of parts cars. This one was his pride, but he died suddenly before he could finish it.
|
| Recent picture. I now have the
trim complete. |
I went through the engine. I put on a new timing belt, replaced the exhaust including the catalytic converter and nailed down a pesky performance problem by relining the gas tank.
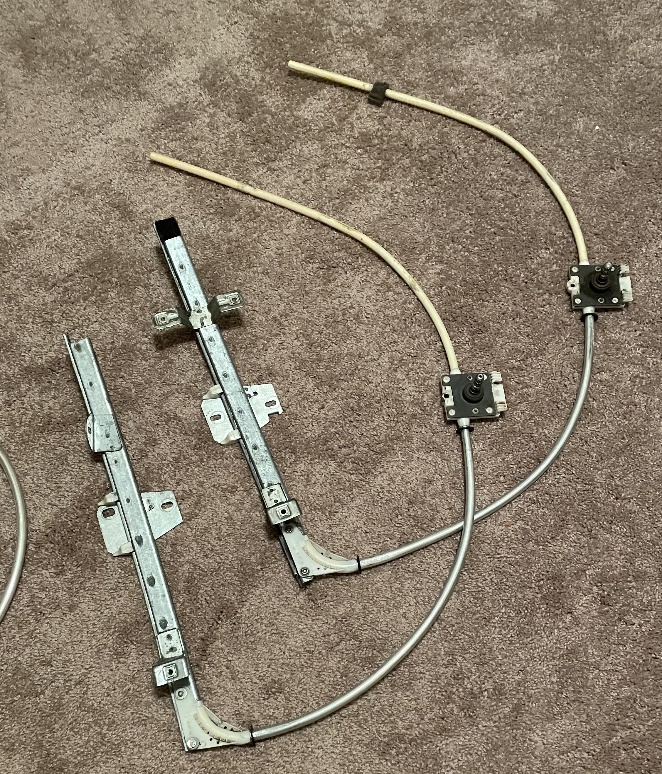
Next were niggly problems such as broken heater controls, which I was able to figure out and repair in an afternoon. But one issue defied my attempts to fix. The driver’s window would not raise. I learned that this is a universal problem with Alliances. The mechanism is very basic, but unique. The window is pushed up and down by what amounts to a single thick cable with a steel spring wrapped around it. It runs through a plastic tube that passes through the crank mechanism which has teeth that engage the cable’s springlike wrap. The cable is strong and the crank works fine, but the tube that it runs through becomes brittle with age and when it breaks, the window has nothing to bear against as it rises. The lift cable had wound out of the crank mechanism, which turned with no effect.
My first attempt was to press a spring grip washer onto the end of the old tube where it broke and use mechanic’s wire to attach it to the bottom of the window guide. This worked a charm, but within a week, the tube broke somewhere else. There was simply too much force for the brittle tubing to withstand. The car went into winter storage with the window down.
 |
| My first repair attempt. It worked, but the tubing broke elsewhere. |
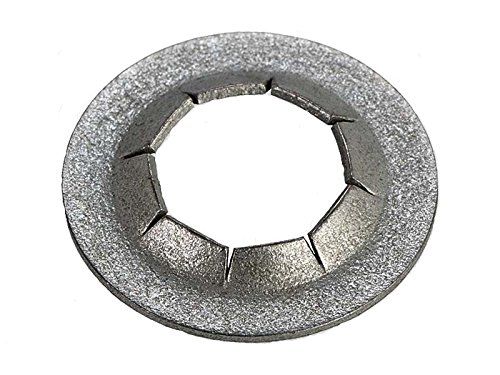 |
| Key to this repair is the spring steel pushnuts. They are widely available at hardware stores. Perfectly sized to go on with some effort, they grip the tubing and will not slip back off. |
That gave me all winter to ponder. The solution seemed simple enough. Replace the tubing. Despite quite a few discussions on Facebook with other owners, there were two issues that no one had an answer for. The tubing is an odd size and no one makes plastic tubing that is both stiff enough and the correct diameter. I consulted McMaster-Carr, a well-known materials supplier. Their tech support is very good, but they could not come up with workable material, though I bought and tried several types. The tubing is roughly 7/16” in diameter and they do not sell every type in that size. Most go from 3/8” straight up to 1/2”.
I decided to think outside of the box. As long as my spring washer trick worked, I should not have to concern myself with finding a strong or compatible glue to assemble it, so why not use something different? The material that came to mind was soft, bendable aluminum. McMaster-Carr had it in 7/16". It was at my door in a few days in a 10’ length. It turned out to be enough to repair three windows. I removed the window mechanism from the door and dismantled it. The crank had moved the cable as it tried to raise the window, but it eventually stopped moving as it got to its end and the teeth in the winder had nothing to grab. The plastic tubing had parted just beyond my repair. Once I got it out of the door, I pulled on the crank end and the crank and upper tube pulled off. Then I pulled the window attachment and cable up and out of the guide. I wiped the cable thoroughly with a rag soaked in mineral spirits to dissolve the tacky old grease, which no doubt had contributed to the demise of the regulator, then set it aside. After measuring and recording the length of the old tube, I cut it off the crank end flush with the housing and removed my old repair, where it was already cut. If yours broke somewhere besides there, you will have to cut that end flush as well. Next, I used a sharp 7/16” drill to ream out the openings of the crank and window riser mechanisms to a depth of 1/2-3/4". The old tubing came out readily as swarf, leaving a smooth hole. I took great care not to go too deep. An electric drill was too aggressive and hard to control. Instead, I grasped the drill bit with a vice grip for leverage and carefully rotated it by hand.
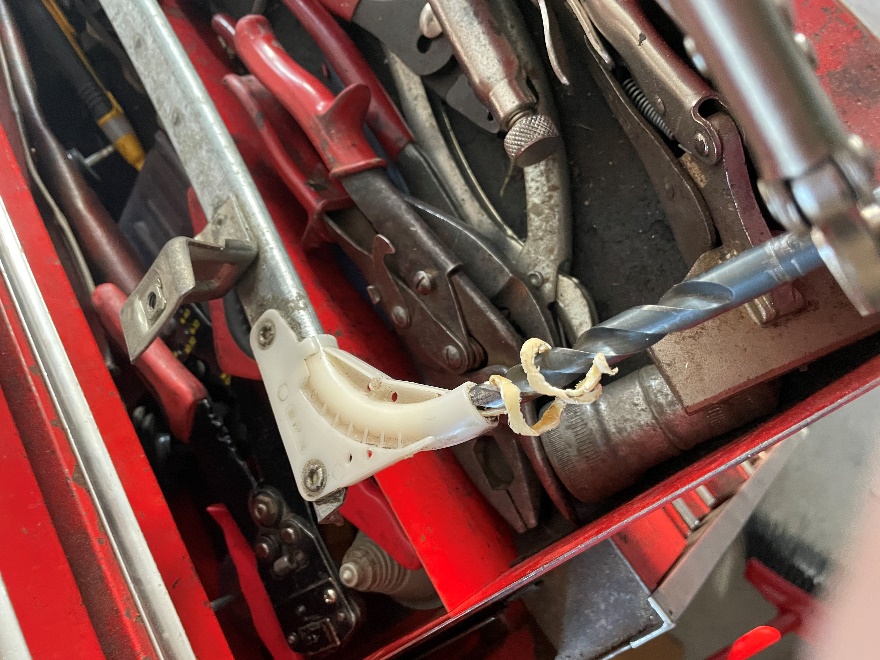 |
| New 7/16" drill bit cut the hole
easily. |
I cut my new tube with an extra 1” to insert into the crank and guide. I used small tubing cutter, cutting very gradually so as not to neck it down. I then hammered spring nuts on each end using a 1/2” deep well 3/8” drive socket, which protected the end of the tubing as I hit it, leaving 1/2” of tubing protruding on each end. As they went on, they gripped the outside of the tubing nicely and could not come back off. A better method of doing this, which I thought of after struggling to keep the tubing from slipping in the vice, would have been to keep the tubing straight, clamping it carefully in the vice to not crush it, then placing the bottom end on a firm surface to keep it from slipping downward with each blow. My efforts left some scars, but no real harm. I filed off some burs.
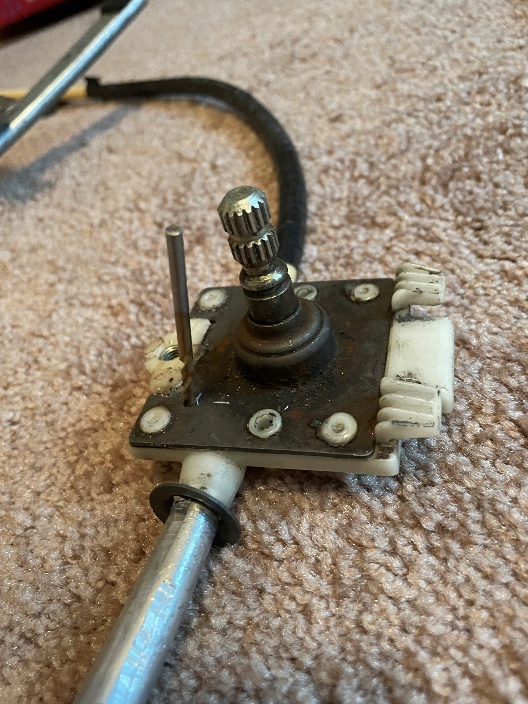
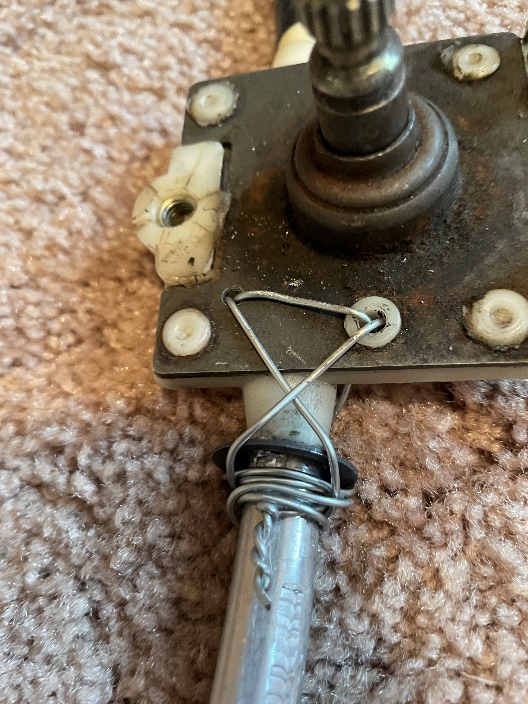
I slipped the new tubing into the two parts. I drilled several small holes through the webbing of the window riser. On the crank end I only needed to drill one hole on the opposite side of the cable guideway, as there is one at the ready. I then threaded 15 lb. mild steel mechanic's wire through the holes and wrapped it around the backsides of the pressed-on washers. I made two rounds of this and cinched it up snugly with a pair of pliers. The result is a strong unit. On the crank end, I made sure that the wire did not protrude, as it would interfere with its installed position. One layer of wire was OK; I just made sure it laid flat.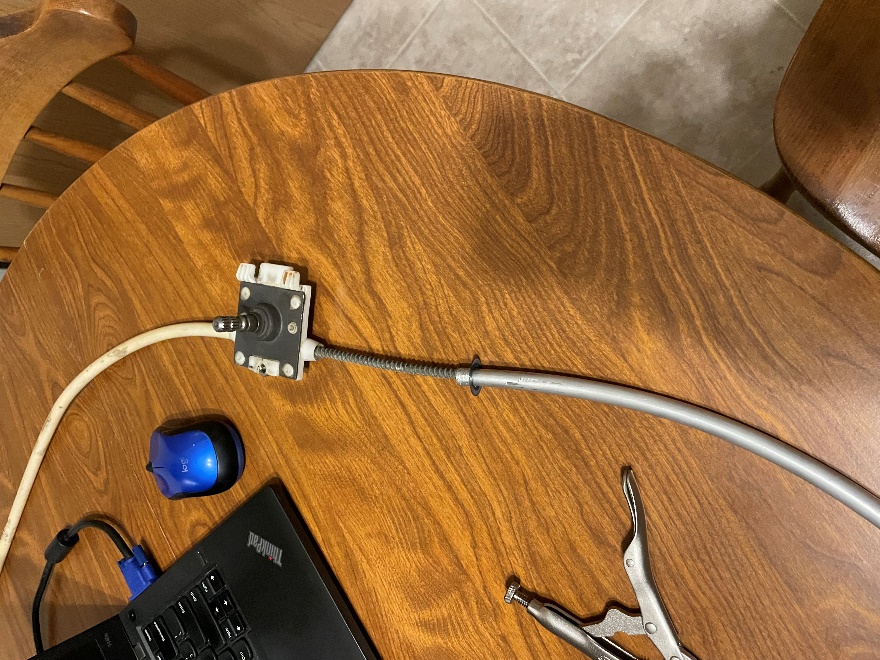 |
 |
| Cable ready to wind into final
position. |
Two regulators assembled but not yet wire tied. One is for my convertible and the other, for a two door or Encore. I sold it and it has been working flawlessly. |
 |
 |
|
Extra
hole drilled for wire. Note angle to keep
clear of tube.
|
Wrapped
from both sides, lying flat, as it must
not interfere with installed position.
|
I oiled the window operating cable with a wipe of motor oil and slipped it back down into the top of the guide. It easily followed the tubing into the crank. Once that far, I drew it in the rest of the way by putting the handle back on and turning it until the window attachment drew on to the guide, taking care to line it up as I went.to avoid breakage. Now I formed the curve of the aluminum tube to duplicate the original. I bent gradually so as not to kink the tubing and laid it up against the inside surface of door occasionally to visualize the final assemble position. Installation was a bit tricky as it was not as flexible as the old one, and it took some last-minute bending to adjust the parts to line up. I was careful not to put any strain on the two parts and took care that the tubing remained lined up with them so the cable could move with no kinking. It all went well, with gentle force needed to get them into final position.
A piece of the upper tubing broke off and I just left it. That proved to be a mistake. Though the window operate perfectly, when the window was all the way down the end of the cable stuck out of the tubing and made clattering noise against the lowere window glass. The fix was to slip the broken piece back on with a snug piece of rubber tubing over its end.
I know the window regulator breakage problem with Alliances and Encores has plagued us for years. This should prove to be a lasting solution.
Copyright, July 3, 2023